This is one of the quickest and cheapest little makes I can think of.
I’ve used the term “paint chips” because that is how they are most commonly referred to on the internet, but it is the American name. Now, normally I wouldn’t use US English, but the problem is that I don’t know what the UK English equivalent would be – maybe paint sample cards?
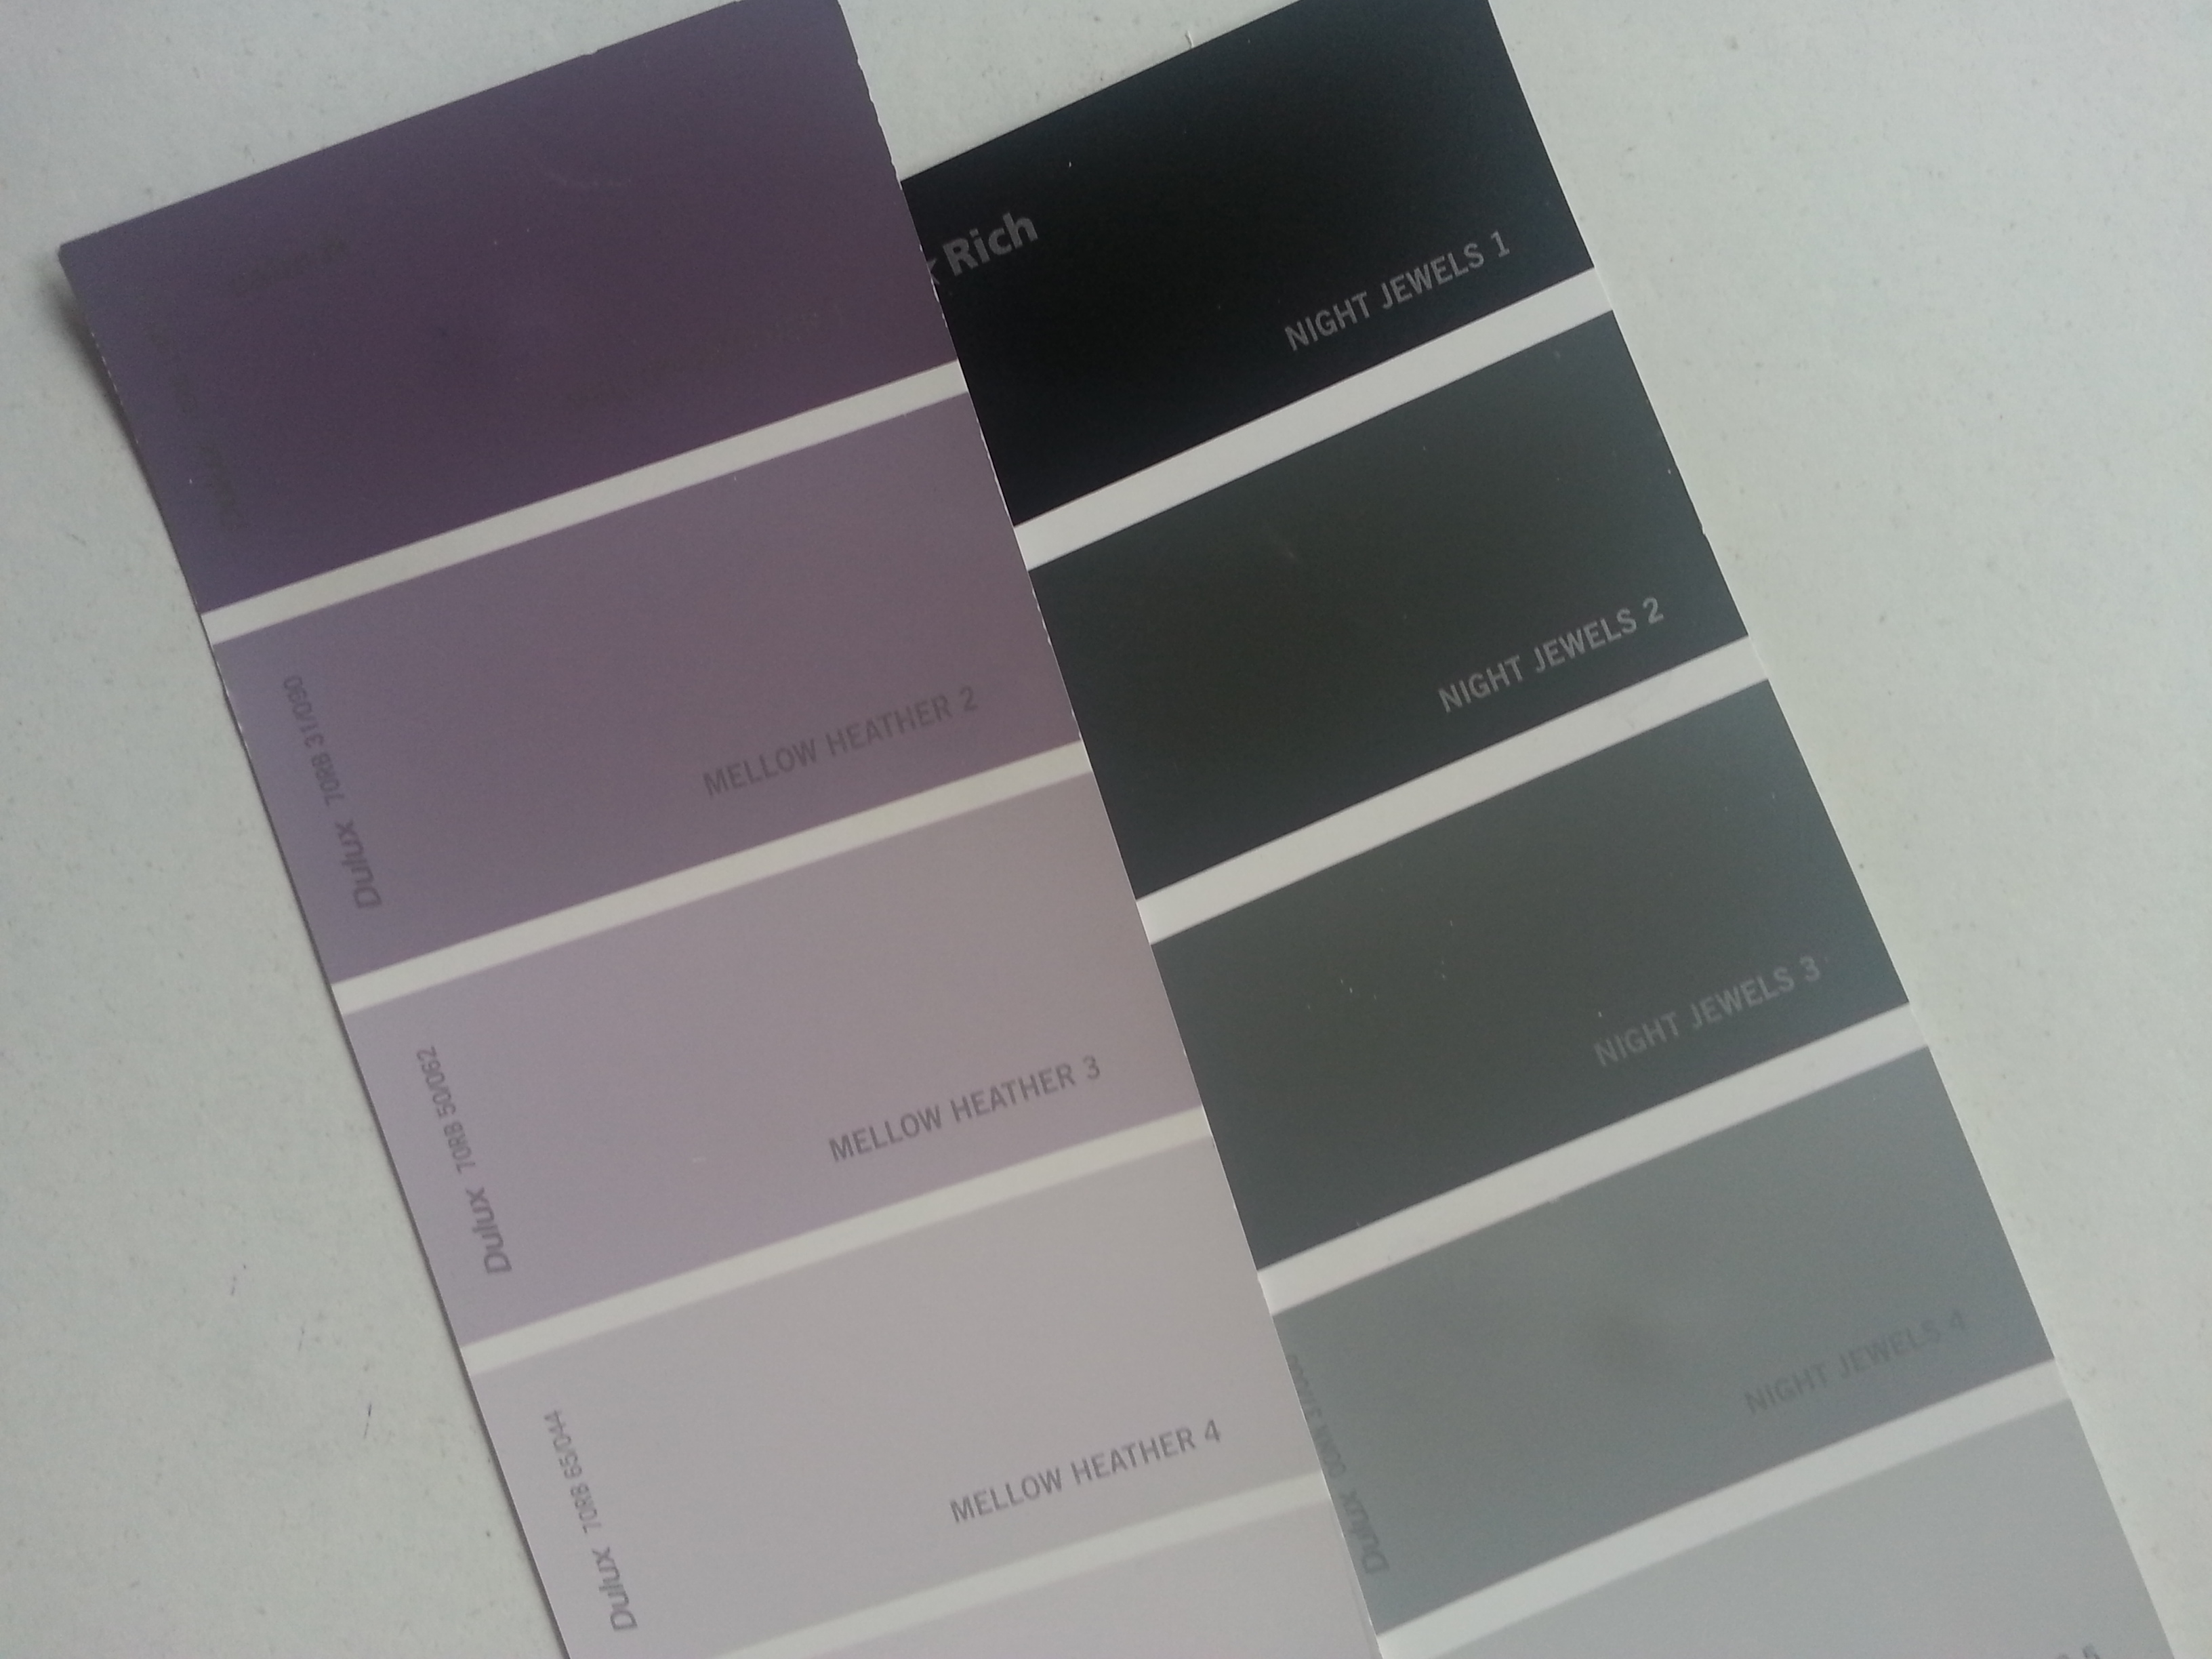
Anyway, this is what I’m talking about – the little strips of card you find in DIY stores, printed with a selection of colours for you to take home and hold up to your walls when trying to choose what colour to paint them.
(Somewhere in that selection are the colours of my bedroom, by the way!)
I’m obviously not the first person to think of crafting with these colourful little beauties – there are many examples on the web. (Quite a few have been gathered together here: http://www.brokeandhealthy.com/50-fun-things-to-do-with-paint-chip-samples#) But I’ve not been quite so inspired by this type, which is what I find in most stores, because all the words on them get in the way rather.
So when I popped in to my local B&Q to check it out after a revamp, I was more than sensibly excited to find a fancy new style of paint chip to choose from (and yes, one of the rooms in my house is painted orange!)
Now, this was quite a while ago, and they have been tucked away in a drawer for all that time. Today when I was tidying up and found them, I couldn’t resist a mini crafting session. Just a few minutes with some washi tape, adhesive ribbon, peel-offs and punches (including my trusty corner-rounder) and ta-dah, bookmarks!
I don’t actually read many “real” books these days, having switched to a kindle some years ago. But I know plenty of other people who are still non-digital so I won’t have any problems finding homes for these little pretties.
(Footnote: if you decide to craft with paint chips, whatever you call them, do be sensible about taking them from the store just for that purpose. Many of the ideas can be achieved just as well with coloured card or paper. Have a look here for some thoughts on the ethics of paint chip crafting: http://homeandgarden.craftgossip.com/paint-chips-are-you-stealing/)
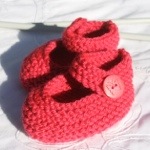
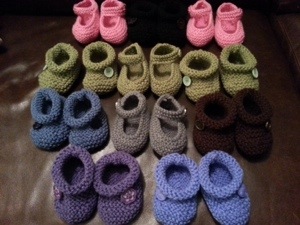
It’s been a while since I made a pair of these booties – the shop where I was selling them closed recently and I haven’t done any craft fairs since Christmas.
Until a few months ago, if anyone asked what I was knitting, the answer was almost certain to be “booties.” I first started with three colours – pink Mary-Janes for girls, blue boots for boys and brown boots for the unisex option. But I’ve since knitted them in lots more colours – quite a lot of green and cream, different shades of blue and pink, purple, dark brown, and even black.
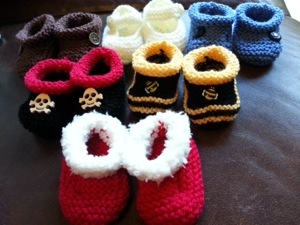
Just for a change there have been pirate ones, bee ones, Christmas ones – complete with jingle bells – and even some red,white and blue ones for the Olympics.
In the last two years I calculate that I have knitted at least 160 pairs of little booties – and that is just the ones I have counted. That is a lot of booties!
It hasn’t been too much of a chore – they are small, relatively simple to knit, and they sell well. I’ve had fun choosing buttons for them, and working with different colours.
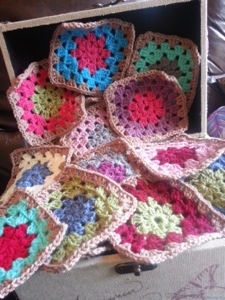
As a bonus, when I get near the end of each yarn ball, I put the leftovers in a bag, and in spare moments I turn them into granny squares. (I’m using Attic24’s Summer Garden pattern but I was too lazy when I started to change colours on every row, so the flowers don’t show as clearly as they do on her version. But I don’t mind that, I still like the way they look.). The plan is that eventually I will have enough squares to make a blanket for the bed in my work room (which is also our spare room.)
Last week I was feeling a bit rough, so allowed myself some sofa-and-daytime-tv time. I got out all the squares I have made and started adding an extra “edging” round. And now I know the finished size of the squares, I have worked out how many squares I will need to complete the blanket. Which is basically a lot more.
So I need more yarn ends, which means that this week I am back to knitting booties. If I can remember how to!
There are quite a few football supporters in my family. As you will know if you have read other of my blog posts, I even joined them for a while. And if you are a true follower of these pages, you will also know that a few years ago I had the crazy idea of making all my Christmas presents.
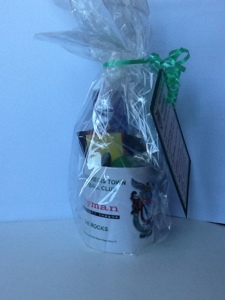
One of the presents I made, for those insane people who like to spend afternoons and evenings out in the cold, was a “Football Supporter’s Survival Kit” containing a selection of items to make the whole experience more bearable.
Recently I have been making some customised bits and pieces to sell in the shop at my local football club, and with Christmas coming up a re-visiting of the Survival Kit seemed like a good idea.
Here’s what went in:
And here’s the label which (hopefully) makes sense of that rather random selection:
The stress ball is one I made, in the team colours – you can find the instructions elsewhere on this blog (I’m determined to make you read it all!) but you could use a bought one, maybe even a football-shaped one. You could also add a handwarmer – and for grown-ups a miniature bottle of something to make the hot chocolate even tastier. Oh, and I have just remembered that in the original pack I included a pack of throat lozenges “for when you have shouted yourself hoarse.”
Anyway, I’m sure you can come up with your own ideas – and the cheesy lines to go with them, of course.
The football club handily had some branded mugs to package it all in, and if your footie fan supports a major team you can probably find a mug for them too. But if not, no matter. The original sets I made were packed in a random box that I covered with plain paper. I printed out the logo of the favoured team – with the good old black and white printer – and I coloured it in by hand.
It’s simple, relatively cheap, mostly useful, and can be personalised – as far as I am concerned, that makes it the perfect present. And I’m hoping the football fans down at the local Club shop agree.
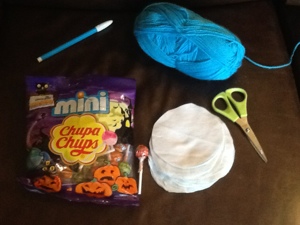
In case you didn’t notice, it was Halloween this week.
I don’t quite know how I feel about the increasing popularity of this occasion. Most of the time I am just annoyed that all the Halloween stuff in the shops is taking up valuable space that could be given over to Christmas goodies. But my five-year-old son has been talking about Halloween for weeks now, so I felt obliged to make an effort in some way.
Which meant that 31st October found us setting off for the mean streets of South London to do a spot of Trick or Treating with some friends. And we took with us my contribution to the pot of treats on offer for callers to their house – Ghost Lollies.
I'm not going to spell out how these elements are put together, I'm sure you can work it out!
And this is the finished product:
I have to say, they went down a storm.
And I know I’m giving you this information a bit late, but if you file this away then maybe next year you too can have the most popular house in the street!
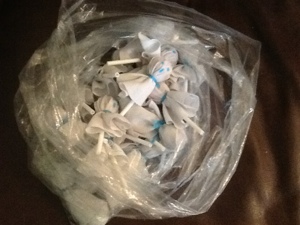
Just in case you were wondering how (or indeed if) I managed it, here are the Button Push Pins all packaged up and ready to sell:
I used some polystyrene to stick the pins into, cut into squares, and I printed out an image of a cork board surface to cover it. The whole thing is then slipped into a cellophane bag (I get through hundreds of those things, in all shapes and sizes!)
I think they look pretty cool, and I sold quite a few of them at a Craft Fair on Saturday. Which meant I *had* to go to the button shop on Monday and buy some more!
For years we have had a black and white laser printer. It works fine, has lasted a long time, and is economical to run. But it was rather limiting when it came to crafts.
So when we moved house last year, and I acquired a work room of my own, I graciously allowed my husband to have the laser printer in his office. I, meanwhile, emptied out my money box and bought myself a swanky new colour printer. It is a thing of beauty, sitting unobtrusively on the corner of my desk and trilling into life when I send it a job (wirelessly, no less). It wasn’t cheap, and I am in denial about how much the cartridges cost, but it gives me enormous pleasure every time I use it. And it has greatly increased the scope of my labelling and packaging.
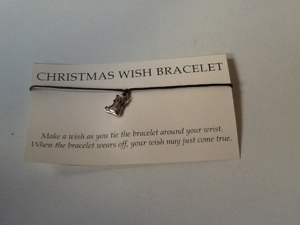
For example, last year my Christmas wish bracelets looked like this:
But now I have this little gem:
<a
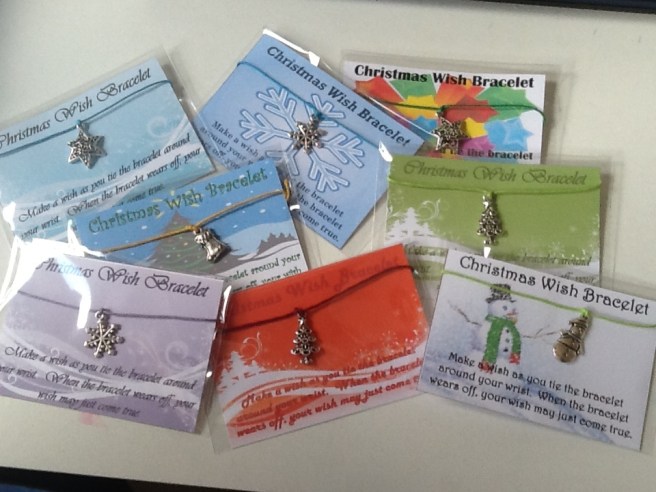
I have come up with these:
Okay, I know I have probably got a bit overexcited and gone too far the other way. But it’s definitely an improvement. And maybe by next year I will have found the happy medium.
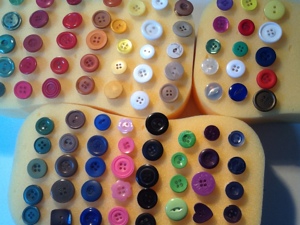
Some of them are ones I have bought specially for things I make. Some are ones I have cut off clothes I no longer wear. Some, I suspect, have been handed down from my mother and grandmother. But my button collection exploded last Christmas (or maybe even the one before) when I happened to mention to my husband that buttons are really expensive and he might like to buy me some as a present.
Well, he bought a job lot! Which was nice, except that too many of them were black, and not enough of them were matching pairs or trios. So I have struggled a bit to find uses for them.
Then the other day, loitering in a stationery shop, as I often do, I saw some drawing pins and realised that they could be cheered up by the addition of a button. I’ve since googled of course and discovered that I am not the first person to do this. But that doesn’t matter – there are, after all, no new ideas.
So I tipped all my buttons onto my desk and spent a happy hour sorting out sets of five. And today I have spent another hour or so sticking buttons onto drawing pins.
I used plain, cheap drawing pins – the golden type that you find in most offices and schools, which break your nails when you try to pull them out of a notice board. These pins have a slightly rounded head, and some of the buttons aren’t completely flat on the back either, so I decided that silicone glue would be the best option for keeping the two together – on the basis that it would fill up any gaps.
I tested my plan with a set earlier in the week, and they seem to be pretty strongly attached – certainly firm enough to cope with normal use.
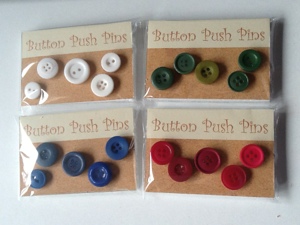
So here’s my little collection of button pin sets:
I will leave them to set for a couple of days. When they are completely secure I will probably have to take a scalpel to some of them to clean up the results of over-zealous gluing. And then they will be done – a simple and relatively cheap little craft.
Now I just need to work out how on earth I am going to package them!
I’m sure every parent is familiar with the phrase “I had a bad dream”.
We first encountered this problem about a year ago, when our little one was coming up to 4 years old. Every so often, the patter of his little feet at 2am would announce his presence in our bedroom, where he would explain that he couldn’t sleep because of the bad dreams.
My solution was simple: give him good dreams instead.
And it worked. All I had to do was tuck him back into his bed and reel off a short list of some of his favourite things to give him something to think about that would banish those bad dreams. It was easy for the first couple of times – it took me no time at all to come up with Buzz Lightyear, a rollercoaster, ice cream, and a christmas tree. But at 2am my brainpower is somewhat limited, and after a few nights of this I was running out of ideas.
So the “Dream Box” was born.
I typed up a list of as many of his favourite things as I could think of – TV characters, real people, food, places, and things. I laminated the list and cut it up into individual words, which I put into a box that had once contained some kind of conference freebie and was waiting in my drawer for its opportunity to be reused. Then I just decorated it with a few stickers.
It was a bit rough and ready, but it did the job. And continues to do so. Every night at bedtime we choose five dreams. Sometimes we make up a little story with them. This was last night’s selection:
So now I have decided to share the dreams, by making Dream Boxes to sell in my Folksy Shop. They are rather more attractive than the original, and I can personalise them to include the recipient’s favourite things.
A while ago I bought some photo frame bracelets. I like the idea and I am hoping that other people will too, as I plan to sell them. But they looked very uninspiring in their original packaging, so I knew something would have to be done to make them more appealing.
I immediately thought that replacing the stock photos with patterned card would improve their look, and knew that a gift box would help too. So they got thrown into the “random craft things” drawer to await further action.
Then yesterday I was putting away some new purchases including this pad of patterned paper, acquired last week from my current favourite shop, Tiger. And I had a Eureka moment. Not only would this paper be great for the frames, but I could also use it to make matching gift boxes.
Making a box from a square of paper is relatively easy once you get your head around it. And much cheaper than buying a gift box. So here’s my short guide to making little boxes:
1. Take your square of paper. I used A4 size paper which I squared off by simply folding one corner to the opposite side and trimming off the excess.
While you are at it, fold the square diagonally in the other direction as well, and the point where the two folds cross is the centre of your square.
2. Fold each corner of the square into the centre. (ignore the fold you can see on the top right of the photo – that’s there because I was reusing some paper that had been folded in an envelope, and isn’t part of the design.)
Then fold again so that the edge of your fold meets the centre line.
Unfold each corner before moving on to the next one.
You should end up with a piece of paper which has lots of little square fold lines marked out on it.
3. Make four cuts, two sets of two at opposite corners. Use the fold lines as a guide, cutting in two squares long and two squares wide.
4. Fold up the corners you haven’t cut, bringing the point into the centre. You now have two sides of the box, plus some support for the other two sides.
5. Then fold in the other two corners, so all of the points meet in the middle. And you’re done!
It shouldn’t need any glue to stay together, but free free to add a little dot under the corner points if you like – sometimes they just don’t want to stay put!
This white box was actually the base of my boxes, and the lids were made using the coloured paper. To make the bases and lids fit together, the square for the bottom needs to be slightly smaller – I chop off about 1/4 inch from each side before folding, and that seems to do the trick.
So here is a finished box:
And one with its matching bracelet:
I think this is definitely an improvement on how the bracelet looked at the start, and it didn’t cost much money or take much time.
We recently spent a couple of days in Blackpool. Our main port of call was the Pleasure Beach, but we also stopped off at what we have come to call “the machines” – otherwise known as an amusement arcade.
Coral Island is the biggest of Blackpool’s many such venues, and was the site of an exciting discovery for me back in the summer of 2004.
I grew up in a seaside town, and spent many happy hours on the pier indulging in some low-level gambling. My favourite type of machine was always what I call the Tuppenny Falls – the one where you drop your coins in to join a pile of others and hope that some get pushed off the edge and into your winnings tray. I always knew that this was a game of diminishing returns; slowly but surely the number of coins going in exceeds the number of coins coming out, until you are left with nothing but an aching shoulder and dirty fingers.
At least, that used to be the case when I was a child. But what I discovered in that dark and noisy arcade in 2004 is that some places now put small prize items on top of the pile of coins. These items get pushed to the edge along with the coins, and you can actually end up with something to show for all the time and money you put in. Even though (as my husband points out every time) the value of the prize is almost certainly less than the amount of money spent winning it.
And so it was that after a week in Blackpool and many hours spent at Coral Island, I returned home with about fifteen or twenty assorted keyrings and other pointless knick-knacks. Which I was very happy with.
But that was then. These days I can bag that many prizes in the course of one afternoon, never mind a week. It’s not just that I have got faster at putting the money in, and it’s certainly not that arcade owners have become more generous. Our return trip to Coral Island last week made me realise just how much I have learnt about Coin Pushers (to give them their “official” title) in the last seven years.
And now I am going to share some of that knowledge.
The first thing to know is that really dedicated prizewinning requires an assistant. When one of those coveted keyrings is just on the edge of the shelf and the very next coin could be the one to topple it over, you don’t want to have to leave your machine to get more change. So try to ensure you have a friend or family member in earshot at all times.
Next, choose your machine. (I only ever play the 2p versions; I’ve never been that much of a gambler.) What you want is a machine with a narrow shelf and a fast moving pusher.
This is the sort you want...
...but don't bother with this one
For the perfect machine, as well as the width of the shelf, you should look at the little perspex vertical wall which you can see just at the back of the moving part of the shelf. This is adjustable, and generous arcade owners will set it at a level that allows only one layer of coins in the back row. This means that whatever stage of the cycle you drop your coin, it will never be wasted by falling on top of another coin. This is particularly useful when children are playing, since they don’t normally have the skill to time their coin drop for maximum pushing efficiency.
It’s not often that all three components – narrow shelf, fast pushing, and low wall – come together in one machine, but if you find one like that, don’t leave it until there are no prizes left. It shouldn’t take long.
Personally I prefer machines where the coin slot is at waist level rather than eye level. But that is mostly because I normally have a heavy handbag over my shoulder, and a couple of hours spent with that arm raised to coin-slot height gives me neckache. And a lower slot also means that small children can be recruited to help if necessary.
When it comes to the prizes themselves, keyrings are quite common and can also be quite easy to win. This is because they spread themselves out, so you only need to get the ring end or the toy end over the edge of the shelf and the rest will soon follow. Bracelets are similarly a good thing, especially if they are heavy ones.
Small rubber balls can be almost impossible to win, because they tend to roll backwards once they reach the lip of the shelf edge. Items still in their plastic packets normally get stuck against the glass on the way down, requiring a visit from the man with the keys – another reason to make sure you have a helper to hand. And cuddly toys can throroughly clog up the system.
It is nearly always easier to win prizes of any kind when they are closer to the middle, especially if you can make use of more than one coin slot so the pile of coins is getting pushed from two directions. On the other hand, prizes that are too close to the side of the shelf tend to disappear into the land of lost prizes, those vast coin boxes that are the reason arcade owners make a living from these machines.
And that’s about it. Now you know how to choose the best machines and the easiest prizes, all you need to make yourself a winner is a tub full of coins and a bit of patience. Plus a stubborn refusal to leave the arcade without that one last prize, even when the rest of your family are complaining about empty stomachs and over-running parking meters.
So next time you are at the seaside, grab yourself some two pence pieces, and before long you too could be the proud owner of a box full of amusement arcade prizes.

 (Somewhere in that selection are the colours of my bedroom, by the way!)
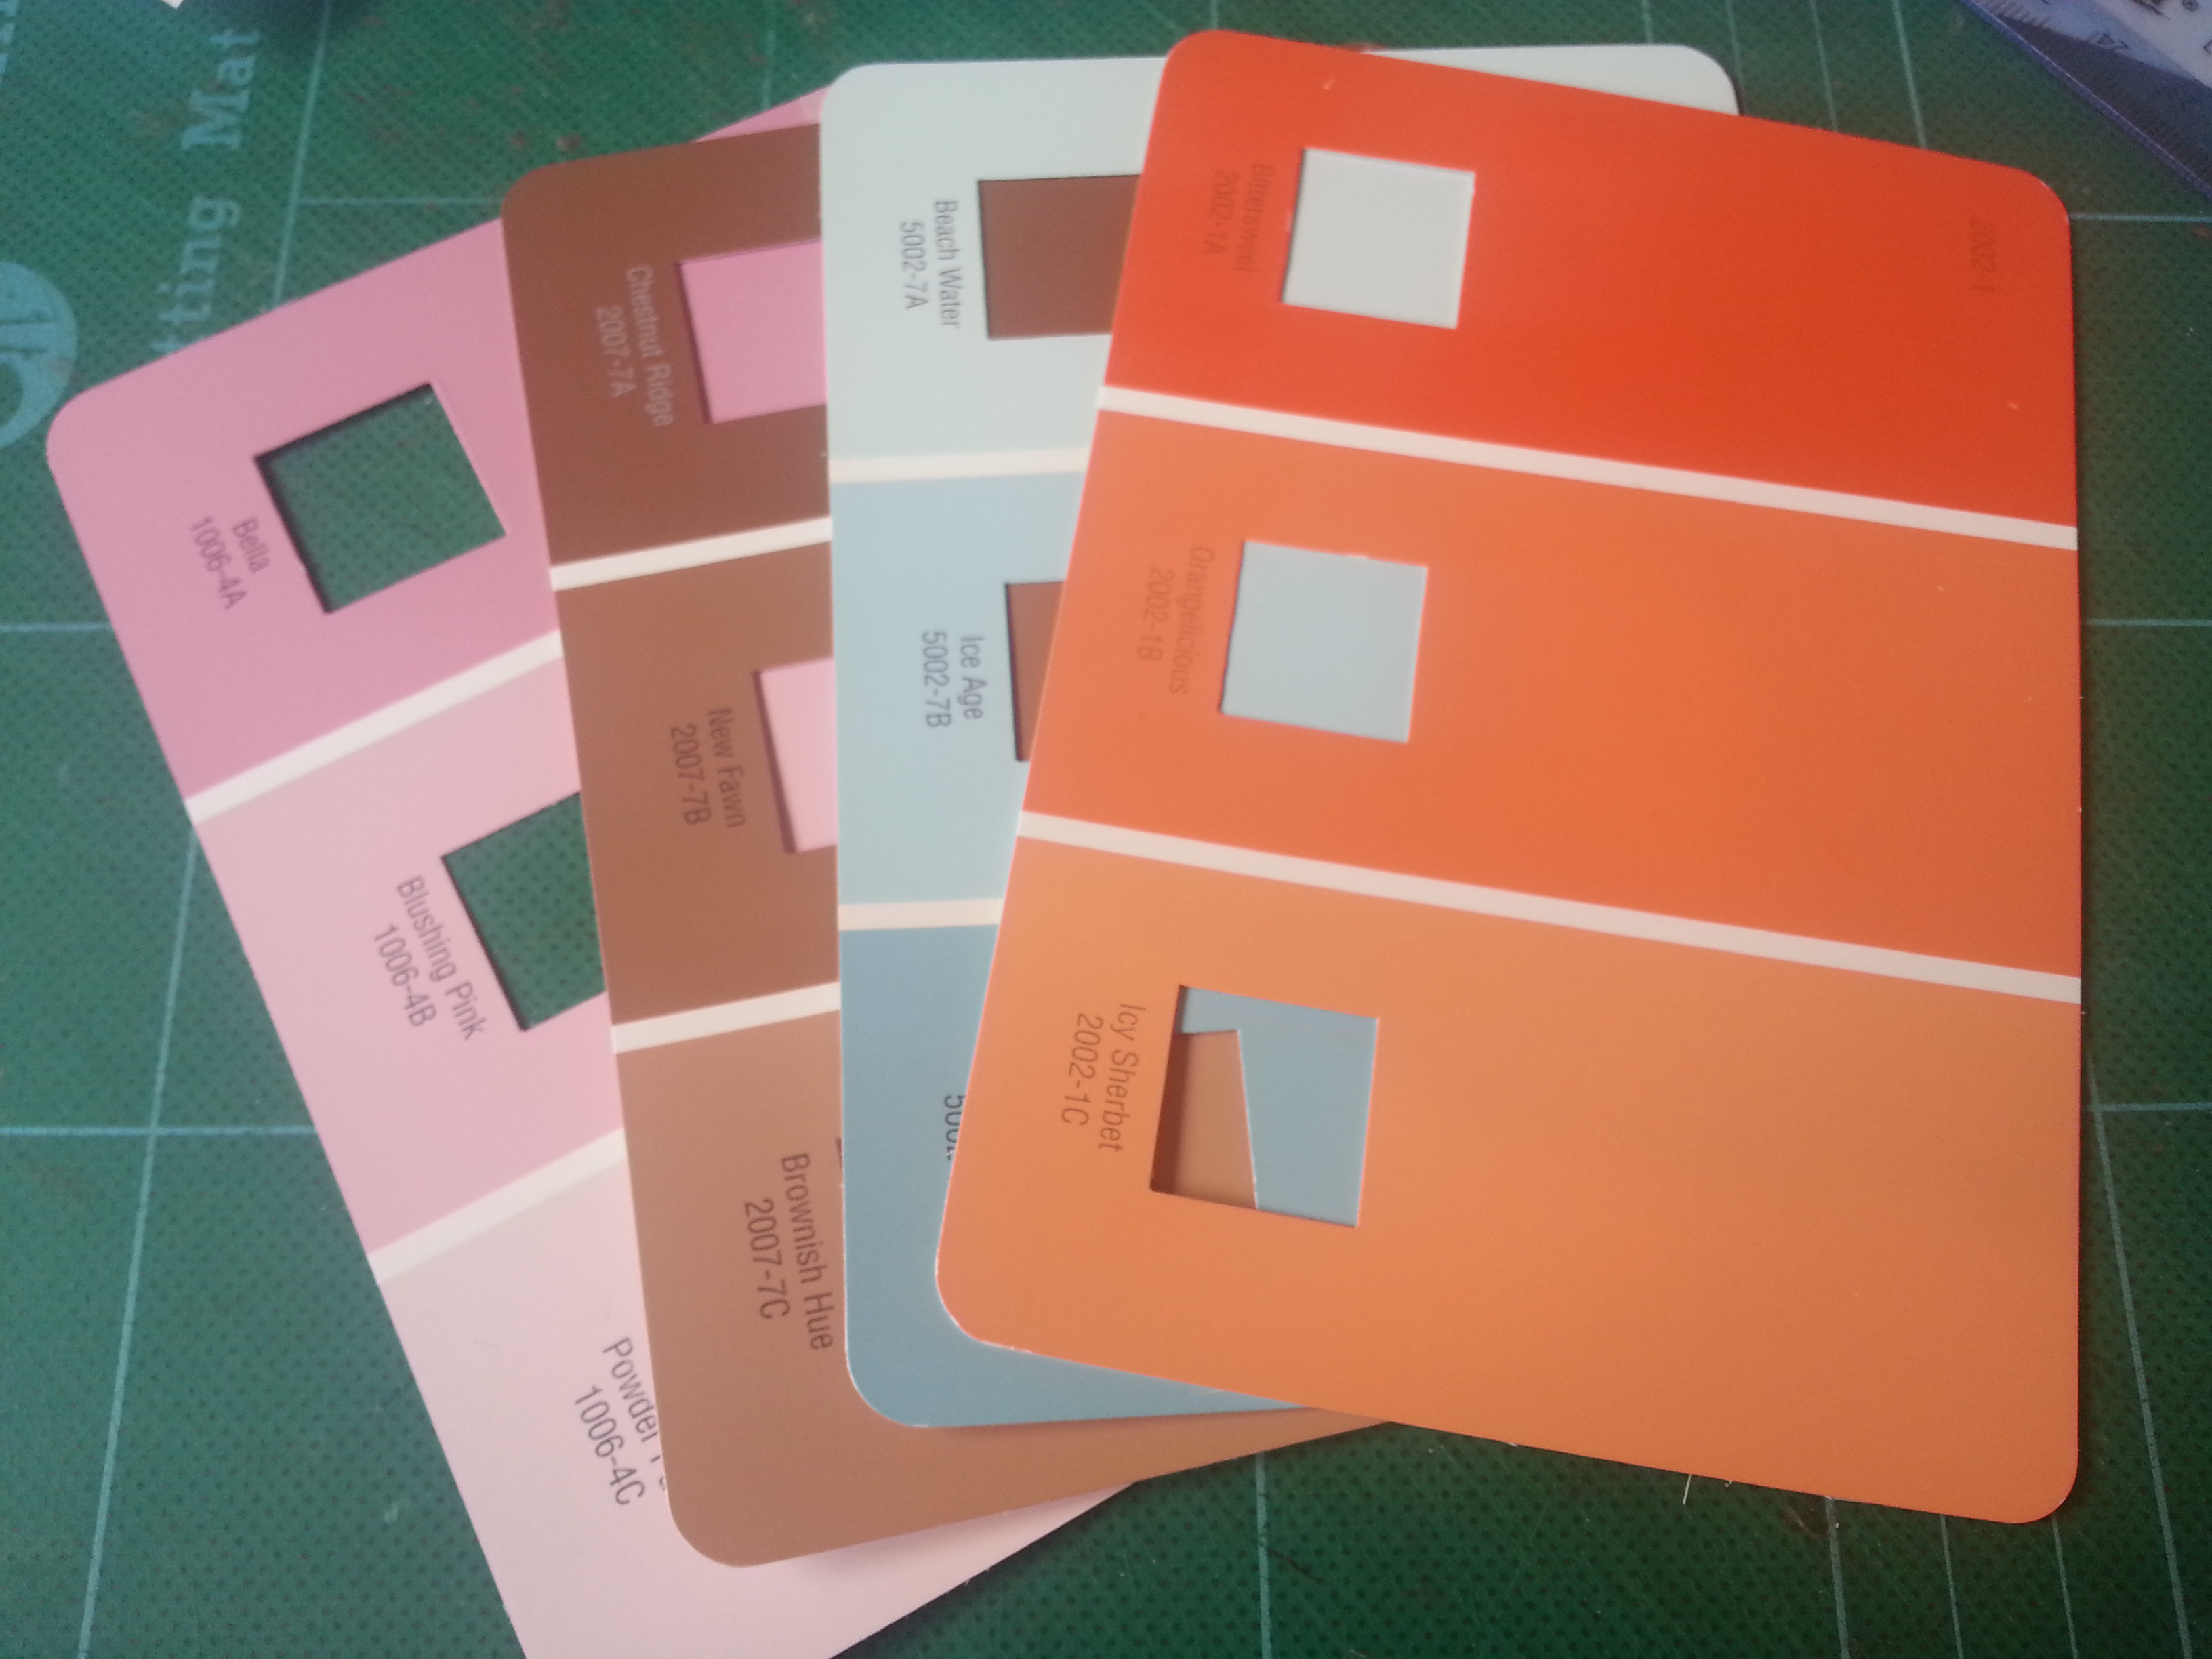


 <a
<a